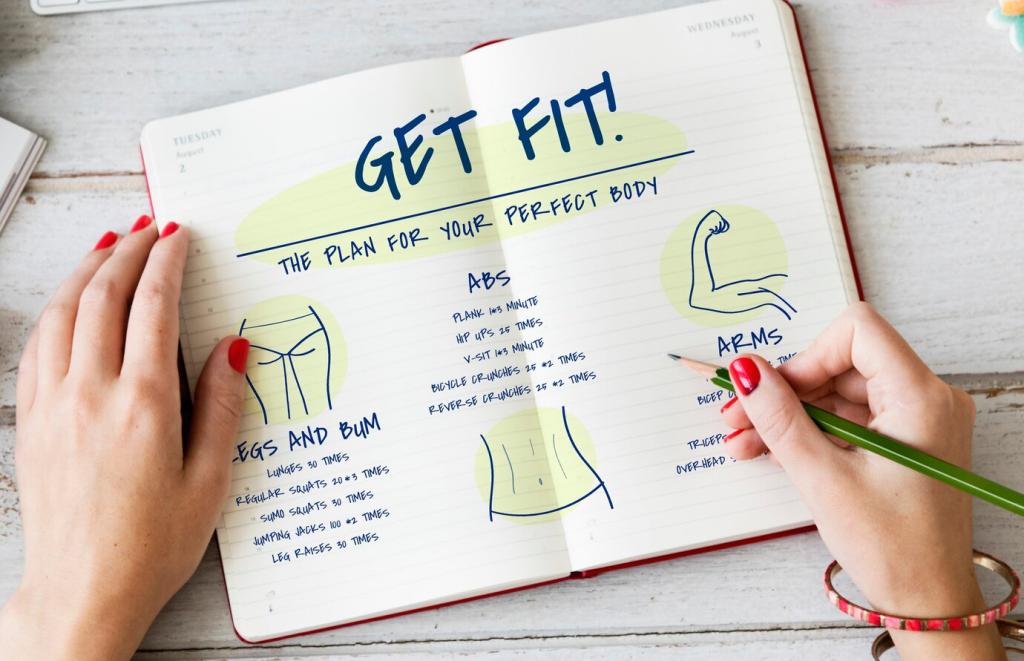
Build Your Strength at Home: DIY Fitness Equipment
Chosen theme: DIY Fitness Equipment. Turn your space into a smart training zone with practical builds, inspiring stories, and safety-first guidance. Ask questions in the comments, share your projects, and subscribe for fresh, hands-on ideas every week.
Reliable DIY fitness equipment starts with accurate measuring, square cuts, and secure joints. Use a tape, square, level, drill/driver, clamps, countersink, and sandpaper. Always wear eye and ear protection, and clamp workpieces firmly to prevent slips and crooked fasteners.
Start Right: Safety, Tools, and Planning
Design for the heaviest movement you expect, then add a generous safety factor. Consider dynamic forces during jumps or swings, not just static weight. Sketch dimensions, mark stud locations, and note joint types. Test progressively and document results to refine safely.
Void-free plywood (like Baltic birch) resists splitting, holds screws well, and offers consistent strength across layers. Solid lumber feels great but varies by grain and knots. For plyo boxes or platforms, plywood’s uniform reliability usually beats the unpredictable nature of solid boards.
Use contractor bags inside zipper pouches to create adjustable filler packs with play sand or pea gravel. Nest pouches in a tough duffel, double-stitch handles, and reinforce seams with tape. Start light, weigh each increment, and record loads to progress confidently and safely.
Sturdy three-in-one plyo box
Cut plywood panels for 20, 24, and 30-inch orientations. Glue, clamp, and screw with countersunk fasteners and internal bracing. Round edges, mark heights clearly, and finish with non-slip coating. Begin with lower jumps, land softly, and test stability before committing to maximal efforts.
Doorway-friendly suspension trainer
Build with webbing, cam buckles, and a padded door anchor. Stitch or knot redundantly and test under controlled conditions. Add foot cradles for core work. Always anchor on the hinge side, close the door firmly, and check wear points before every session for consistent safety.
Small Space Solutions for Apartments
Mount a stringer board across multiple studs, then hinge a rack that locks open with pins. Add a heavy-duty pegboard for bands, belts, and handles. Always lag into studs, not drywall. Label hooks to speed setup and keep your workout flow smooth and efficient.
Maya started with twenty minutes a day, then added filler packs weekly. Her confidence rose faster than the weight. She now carries the bag on park walks, inspiring friends to join. What small, steady win can you celebrate today with your own build?
Andre’s rehab-friendly balance board
Recovering from a sprain, Andre built a balance board from a thrifted skateboard deck and a PVC half-pipe. Short, frequent sessions restored his ankle stability and posture. He added a handrail for safety. Share your rehab-minded ideas so others can learn thoughtfully.
A family garage transformation weekend
Two parents, two kids, one weekend—now a tidy garage gym with labeled storage, a compact rack, and a chalkboard plan. The kids measured, sanded, and painted. Sunday evenings became family strength time. Post your photos and we’ll compile a gallery of creative garages.
Improve grip by sanding wood to 120–150 grit, adding non-slip paint, or wrapping in athletic tape. For metal, lightly texture or chalk. Keep handles dry and inspect for wear. Consistent contact quality reduces blisters, unexpected slips, and confidence-sapping micro-movements during heavy sets.
Use It Right: Technique and Training Science
Begin near technique limits, not strength limits. Increase volume or load by roughly five percent weekly, then deload periodically. Track perceived exertion and bar speed. Retest equipment tightness monthly. Small, predictable jumps compound stress safely and keep motivation high without risking sudden setbacks.
Maintenance and Smart Upgrades
Monthly inspection checklist
Check for loose screws, rust bloom, splinters, delamination, and webbing abrasion. Retorque hardware, sand rough edges, and replace worn parts immediately. Keep a dated log with photos. Small fixes today prevent failures tomorrow, protecting both your training plan and your peace of mind.
Protective finishes for sweat and weather
Seal wood with water-based polyurethane or hardwax oil. Prime steel with rust-inhibiting coatings and finish with durable enamel. Add end caps to tubing. Wipe equipment after sweaty sessions. Brief, consistent care outperforms occasional deep cleanings and keeps everything looking proudly homemade.
Modular attachments and future-proofing
Standardize hole spacing, use removable pins, and design universal brackets for j-hooks, dip bars, and landmine sleeves. Plan accessory storage on the same rack. As your goals evolve, swap attachments instead of rebuilding. Tell us which add-ons you want detailed next.